


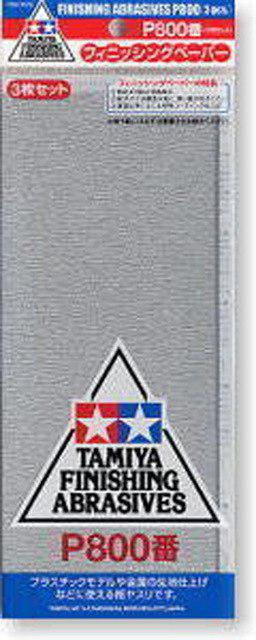
- High-quality sandpaper that uses precious silicone carbide as an abrasive.
- It's special processing makes it less prone to dulling and the high precision of the abrasive particles prevents deep scrathing.
- The special resin coating on the back makes it highly resistant to bending, it fits comfortably in the hand making it suitable for rough sanding work.
- NOTE - due to the material types, the shaved powder may cause irritation to some users if it comes into contact with skin and eyes, wearing goggles, gloves and a mask is recommended.
- Polishing Tips: The larger the girt number, the finer the grit, to ensure no scratching happens keep the sanding direction consistent, furthermore when using the next grit paper remove the previous sanding marks by sanding in the opposite direction, continue this process until desired finish is achieved.
- Using small pieces of wood as a backing block allows you to sand flat surfaces evenly.
- To achieve sharp corners use a backing block be careful to not allow the sandpaper to extend beyond the edges, and precisely sand each surface.
- This technique can also be used on different shaped pieces of wood, or flat edges tools that the sand paper can be secured to.
- When sanding polystyrene resin adding a small amount of mild detergent will help reduce clogging especially 1000 grit or higher sandpaper. Some plastics containing a high amount of rubber cannot be sanded.
- It is not recommended to use the wet sanding technique on wood items as the wood may absorb the sandpaper and deform, ensure that you wipe wood after sanding with a semi-moist cloth and allow wood to dry completely before painting.
- To achieve a metallic shine on metal, use a sandpaper with 1000 grit or higher using the "Polishing tips" section. Aluminum, white metal & Die-cast metals are relatively soft, so be careful as they are more prone to deep scratching and clogging.
- SHAPING THE PUTTY-FILLED AREAS: Lacquer-based putties, like Tamiya putty remain soft, even after hardening and if they are sanded the same way that you sand the rest of the model, the putty will be sanded away first. To ensure this does not happen leave the putty area intact until the end then finish with sanding the putty area(s).
- With EPOXY putty & other putties that harden through chemical reactions the putty may actually become harder, so it is recommended to sand these areas first, then the rest of the model.
- Painted Surface Finish: Water-based paints (ex. Acrylic paints,) will weaken if wet sanded for too long. Oil-based paints, (ex. Enamel paints,) are not suitable for wet sanding technique, keeping this in mind to achieve a smoother, glossier finish on painted surfaces, wet the sandpaper (1000 grit or higher,)choosing the sandpaper to use based on the degree of unevenness on the surface, but be careful no to sand too hard with sandpaper as the will quickly expose the base coat, paying particular attention to corners as the base coat is most likely to be exposed in those areas. After sanding polish the surface with Tamiya compound to smooth it out, and finally applying Tamiya modeling wax to give it a shine.
Finishing Abrasives P800 (3pcs)
SKU: TAM87056
$5.99Price
)